Step 2 - Module Category Editor
In this step you will learn what module categories are and how to add new ones.Module categories are, as the name suggests, categories modules belong to. A module category can have subcategories. Furthermore, module can be assigned to modules categories. While each module category can only have one supercategory, a modules can be assigned to several module categories. For example, assume there are two module categories A and B. A has a subcategory C. A module X can be in module category B and C. Module category C is only subcategory of A.
In this tutorial, you will create a module category "Cities" with a subcategory "Festivals" and assign each module to a module category.
- On the top of the Virtual Spaces application window there is a toolbar with several buttons. The last button has a drawer icon. Click on the drawer to open the module categories editor.

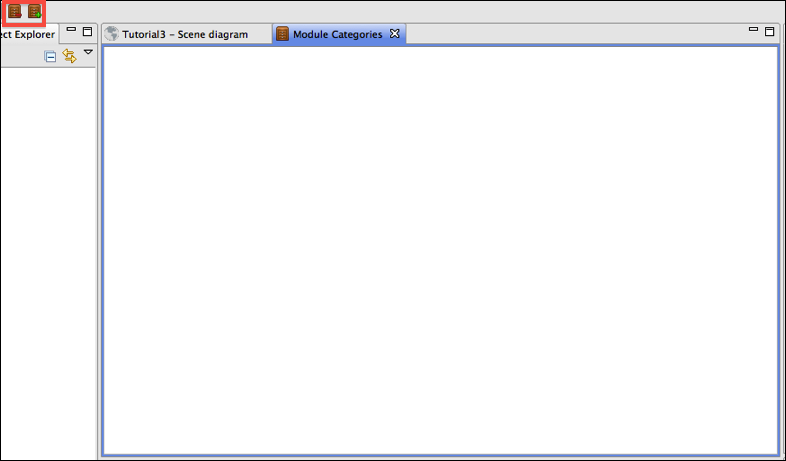
- The module categories editor looks like this:
On the left-upper corner there are two buttons. A drawer with a minus to remove module categories and a drawer with a plus to add new module categories.
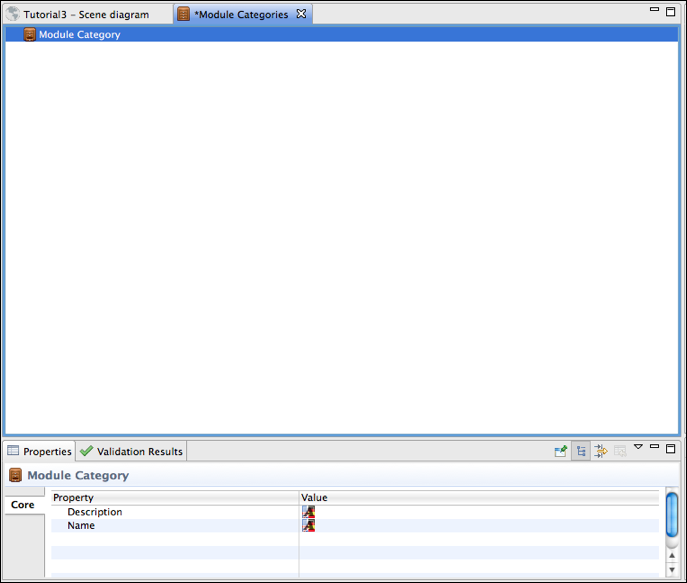
- Click on the button with the drawer with the plus. A new module category appears in the editor.
- Select the module category. The properties view should show its properties now.

- Click on the
Edit...button in the "name" row of the properties view and set the module category's name to "Cities." - Click on the
Edit...button in the "description" row of the properties view and paste the text you can find here as description. - Select the module category in the module category editor again and save your project.
- Make sure the module category "Cities" is selected (its row is highlighted in blue) and click the button to add a new module category (the drawer with the plus) again.
- A little triangle appears in front of the module category. By clicking on the triangle the content of the module category is shown. You've just created a new subcategory that you should see now.

- Set the title of the new subcategory to "Festivals" and add as description the text you can find here.
- Save your project.

