Step 1 - Creating VSpace Maps
Before you start with this tutorial you need to either create a new virtual spaces project with several scenes and modules (see tutorial 1) or you can import this example virtual spaces project (5 scenes and 3 modules).To create a vspace map, do the following:
- At the end of the main toolbar there are two buttons:

The first button (
 ) lets you open existing VSpace Maps, the second one (
 ) lets you create a new VSpace Map.
- Click on the second button (
 ).
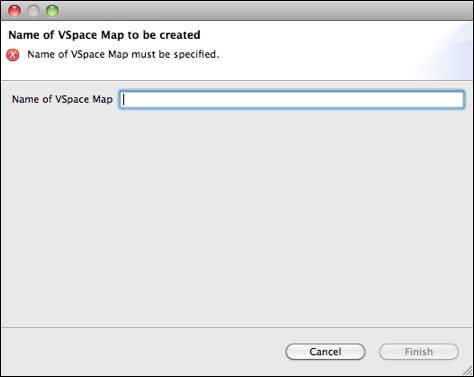
). - A wizard opens. Enter a name for your VSpace Map. The main language of your virtual spaces project will be assigned to this title. You can add titles for the other languages of your project later.

- Click
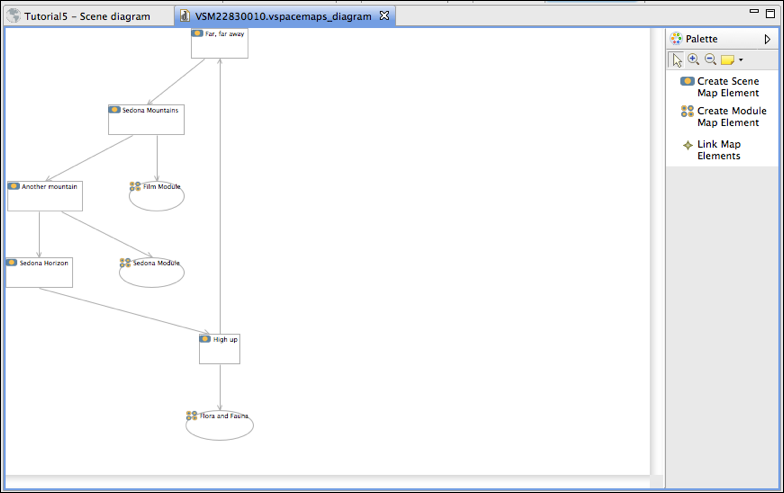
Finish. - Virtual Spaces will create a new diagram that shows the structure of your virtual spaces.

- You can now rearrange the elements in the diagram as you like. There are also two buttons to automatically arrange the elements of the diagram. They are at the end of the editor toolbar.
Click them and see what happens.
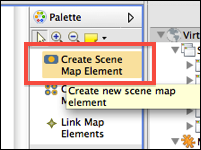
- You can also resize the elements, delete them and add new elements. To add a new scene element (an element that represents a scene), click on the palette entry "Create Scene Map Element."

- Then, click somewhere on the diagram background. A new element will be created.
- In the properties view below the diagram you can choose what scene this new scene element represents.

- You can create new module elements (elements representing a module) in a similar way by selecting "Create Module Map Element" from the palette.
- You can also change the color of the elements in the diagram. To do that, select an element in the diagram, then go to the properties view below the diagram and click on "Appearance." Change font and colors as you like.

- Save your project.

