Editors
There are two types of editors in Virtual Spaces. The Main Editor and the Module Editor. In the Main Editor Scenes and Modules are created and structured. In a Module Editor the contents of a Module is managed (creating, editing, deleting Slides, Branching Points and Sequences). You can switch between editors by clicking on the tab headers (see image below) on top of the editors. An editor is active if the content of the editor is shown and the tab is highlighted in blue.

Main Editor
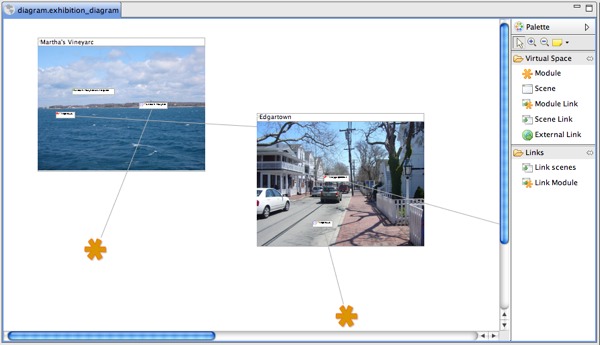
There is one Main Editor only in a Virtual Spaces project. This editor is shown when you open a project. If you close the Main Editor you can reopen it by selecting Project >> Open Main Editor from the main menu. The image below shows the Main Editor of a project.

The Main Editor consists of the editing area and the Palette. In the editing area all Scenes and Modules are displayed and lines indicate how they are connected. You can create new Scenes and Modules in the editing area using the Palette or the context menu (see image below) that appears if the mouse is over the editing area and you don't move the mouse for approximately 2 seconds.

Module Editor
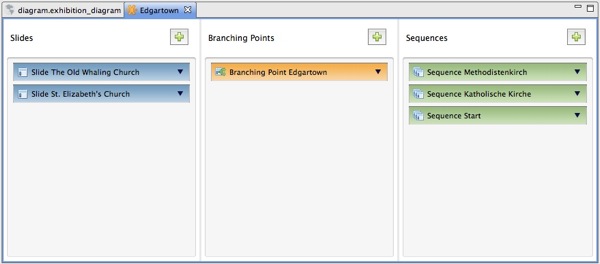
The Module Editor (see image below) opens if you double click onto a Module in the editing area.

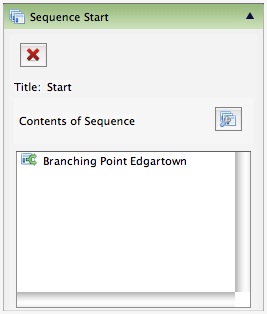
There are three columns. In the first column all Slides contained in the Module are listed. In the second one all Branching Points are listed and in the third column the Sequences are shown. To add a new element to one of the columns click on the button with the plus sign on top of the column. Each element can be expanded. To expand an element click on the arrow sign next to the title of the element. The image below shows an expanded Sequence.

To delete an element use the delete button on top of the expanded element. To edit the properties of an element click on the header of the element. The properties view should then show the properties.

