Step 1 - Getting Started
Before we start with this tutorial, here is a list of tips on how to use Virtual Spaces MWN.- In this tutorial, this is called the main menu:

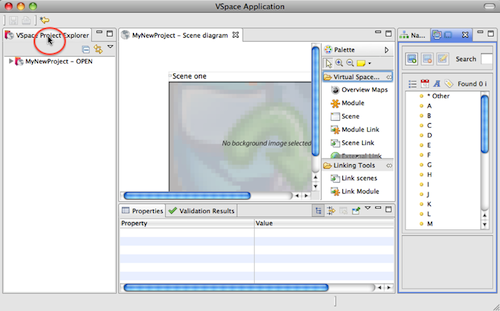
- The Virtual Space window consists of several parts called "views". The size of a view can be changed by moving the borders between the views.

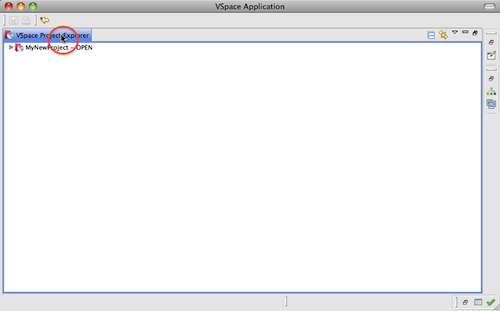
- A view can be maximized and minimized again by double-clicking on its tab.
- You can save your project with the shortcut key cmd-S or by selecting
File >> Save/Save Allfrom the main menu.
Save your project regularly!
- Open Virtual Spaces by double-clicking on its application symbol.
- Choose a workspace. A workspace is a folder in your file system that contains your virtual space projects. First time you work with Virtual Spaces, you should create a new folder (for example in your home directory) and use this folder as workspace. If you did tutorial 1, choose the same workspace that you used before.

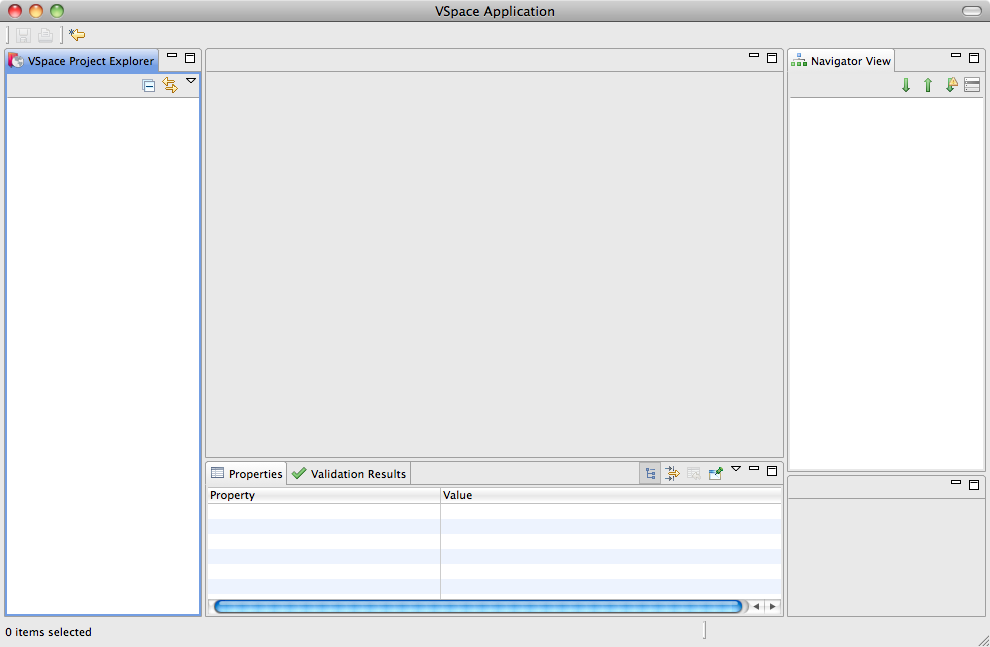
- VSpace should now look like this:
If you did tutorial one, two or three, open the project you've created in one of these tutorials and continue with step 2.
- From the main menu choose
Project >> Import.... A dialog opens.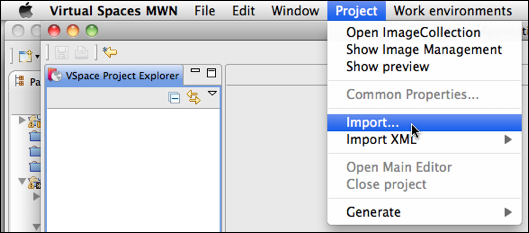
- Select the project you've downloaded and unzipped using the
Browse...button.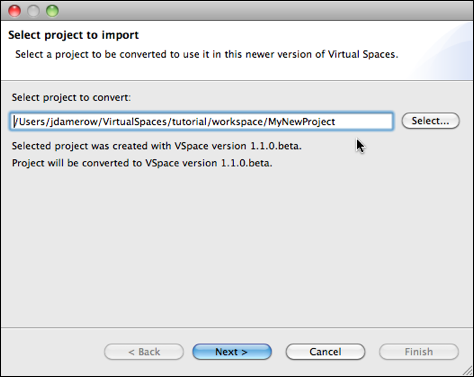
- Click
Next. Enter a name for the new project (e.g. Tutorial3). - Click
Finish - After the project was opened, click into the scene diagram to activate the editor. You know that the an editor is active when its tab is blue.
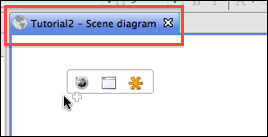
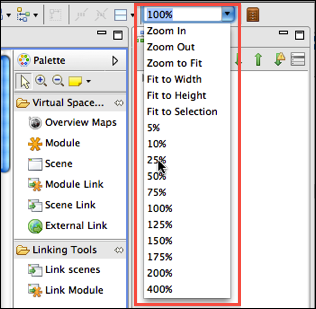
- Use the zoom pull-down menu in the right upper corner to zoom out, so that you can see all elements in the diagram (25% should work).
