Step 3 - Creating Content
In this step, you'll create a slide, put it in sequence and set the start sequence of the module. If you want to learn more about modules and haven't done so, you should do tutorial 1.
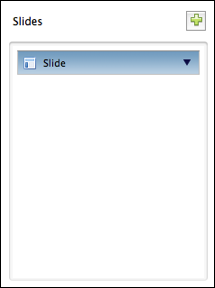
- Click on the button with the plus sign in the left most column.

A new slide will appear in the slides column (represented by a blue box).

- Click on the little triangle on the right end of the blue box to open the slide.

The opened slide shows you what you can add to this slide: images, texts, videos and alien slides. If you want to delete a slide, click on the button with the red cross on top of the opened slide.
- Click in the slide header (the blue box) of the slide you've just created to show its properties in the "properties view."
- In the
Value column, click into the row labeled "Title." Click on the Edit button and enter a title for the slide, e.g. "Sedona Film Festival." Click OK.
- Let's add a text to the slide. Click on the add text button in the opened slide.

- Select the text in the text list to view its properties in the "properties view."
- In the
Value column, select the row labeled Text and click on the Edit button. Add the text in file textSlide.txt from the provided files and click OK. After deselecting the text in the list by selecting something else and selecting the text again you should see the text you've just added in the properties view.
- Save your project.
- Close the slide by clicking on the little triangle at the end of the blue slide header box.

- In the right most column, click on the button with the plus sign to create a new sequence.

A new sequence will be added to the sequence column. It is represented by a green box (in the following also called the sequence header).
- Click on the sequence header to show the sequence's properties in the properties view. Change the title of the sequence to "Film." As you did it with the properties of slides, you change the title by clicking in the
Value column in the row labeled "Title" and click the Edit button.
- Open the sequence by clicking on the little triangle at the end of the sequence header.
- Click on the edit contents of sequence button:

In the dialog that opens select the slide you've just created in the left list and click the Add -> button to add the slide to the right list.
- Click
OK.
- Close the sequence by clicking on the triangle in the sequence header again.
- Select sequence "Film" as start sequence.
- Save your project.
- Close the module editor.
Continue with
step 4 to learn how to create alien slide links.


