Step 2 - Creating a Module
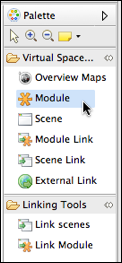
In this step you will create a second module.- In the palette, click on the module entry.
Now, when you move the mouse over the scene diagram editor, there is a little plus sign attached to the cursor.
- Click somewhere on the diagram editor. A new module will be created.
Depending on the version of Virtual Spaces you're running, the module element can look different from the one in this image.
- Link the new module from scene one using a module link with the title "Film Festival". This was explained in step 10 of tutorial 1.
- Save your project.
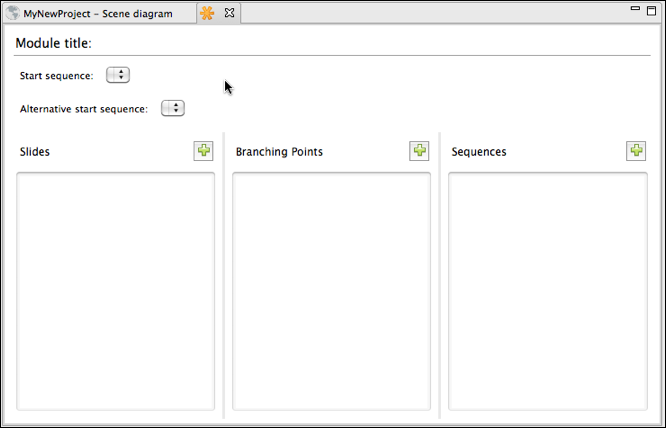
- Double-click on the module element you've just created. A new editor opens that looks like that:

- Click on "Module title:" on top of the editor.
The properties of this module are now shown in the "properties view" below the module editor.

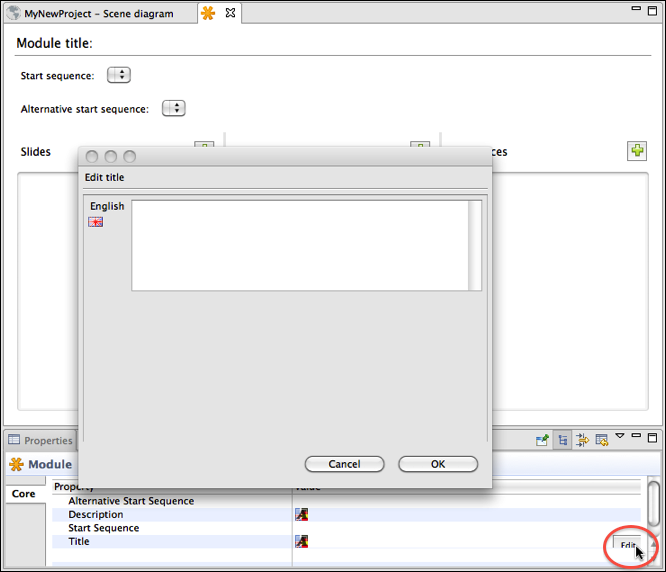
- In the
Valuecolumn, click in the row labeled "Title." Click on theEditbutton on the end of the row. The following dialog opens:
- Enter a title for the module, for example "Film Module" and click
OK. The new title should now be shown on top of the module editor. But it could be that it is not shown in the properties view right away. - Save your project.

