

![]()
![]() Step 1 - Getting Started
Step 1 - Getting Started
![]()
![]() Step 8 - Creating a Branching Point
Step 8 - Creating a Branching Point
![]()
![]() Tutorial 2 - Alien Slide Links
Tutorial 2 - Alien Slide Links
![]()
![]() Tutorial 3 - Module Categories
Tutorial 3 - Module Categories
Step 1 - Getting Started
Before we start with this tutorial, here is a list of tips on how to use Virtual Spaces MWN.- In this tutorial, this is called the main menu:

- The Virtual Space window consists of several parts called "views". The size of a view can be changed by moving the borders between the views.
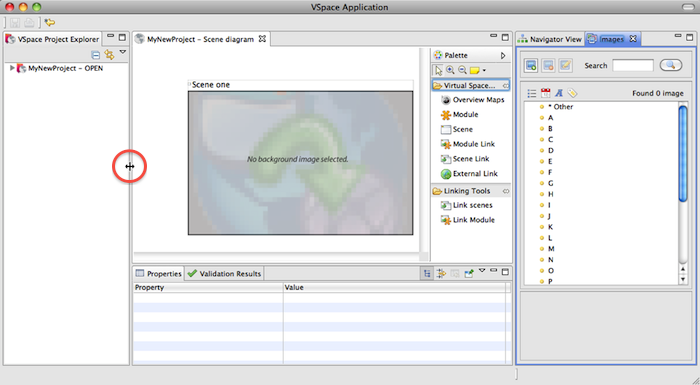
- A view can be maximized and minimized again by double-clicking on its tab.
- You can save your project with the shortcut key cmd-S or by selecting
File >> Save/Save Allfrom the main menu.
Save your project regularly!
- Open Virtual Spaces by double-clicking on its application symbol.
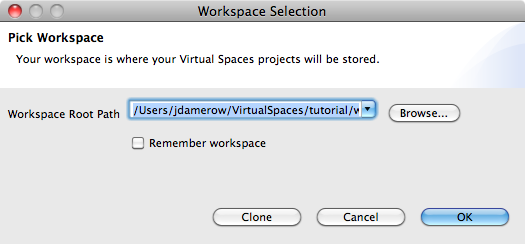
- Choose a workspace. A workspace is a folder in your file system that contains your virtual space projects. First time you work with Virtual Spaces, you should create a new folder (for example in your home directory) and use this folder as workspace.
- VSpace should now look like this:
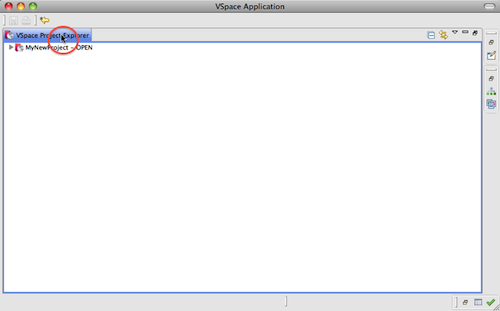
- Right-click in the VSpace Project Explorer and select
New >> Virtual Space. You can also use the main menu to create a new Virtual Space by selectingFile >> New >> Virtual Space. - Enter a name for your project and click
Finish.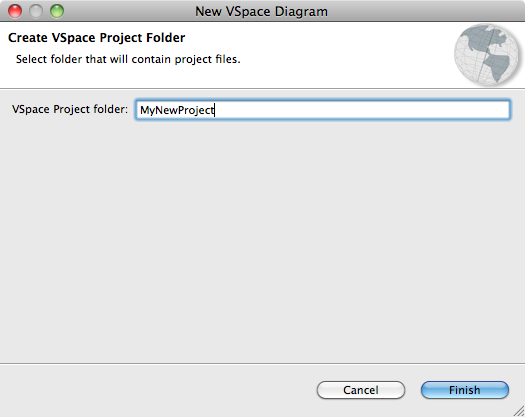
VSpace should have opened an editor now, called YourProjectName - Scene diagram.
- Before you start creating scenes and modules you should configure the languages of your Virtual Space. From the main menu, select
Project >> Common Properties.... On the left side of the dialog that opened, selectLanguages. - Click on the button labeled
New.... Enter the language you want to use and its two letter language code (e.g. en for English, de for German, etc.). ClickOK. The dialog should now look like this: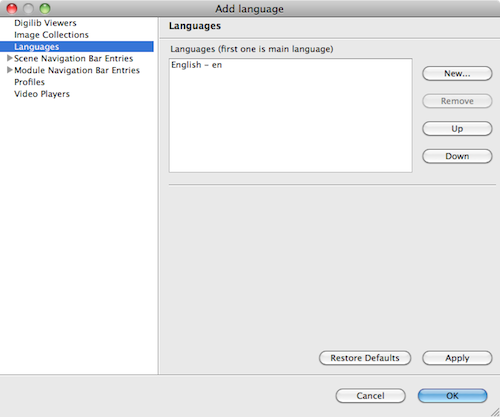
- Click on
OK.