Step 2 - Creating scenes
In this step we will create two scenes using VSpaces's image management.- In the palette, click once on the scene Entry.
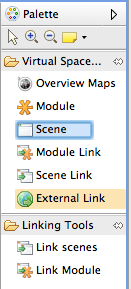
Now, when you move the mouse over the scene diagram editor, there is a little plus sign attached to the cursor.
- Click somewhere on the diagram editor. A new scene will be created.
- At the top of the scene an editor field will open to enter a name for the scene. Name it "Scene one".
If you want to change the name of the scene, click in the top part of the scene again and start typing.
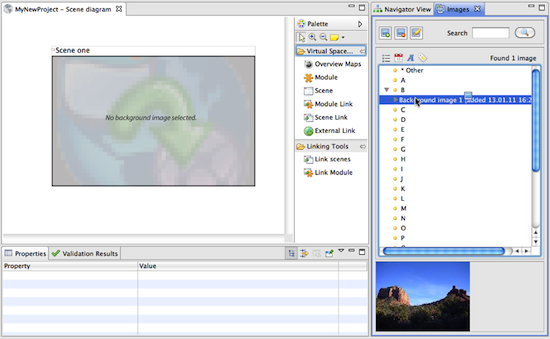
Your editor should now look like this:
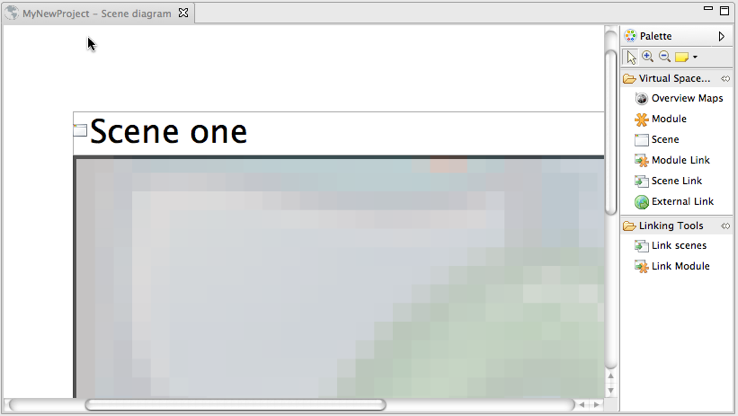
To see the whole scene use the zoom tool in the palette or the zoom drop down menu on top of the VSpace window.

- The created scene now needs a background image. We will use the VSpace internal image management to manage our images. To open the image management select
Project >> Show Image Managementfrom the main menu. The following view should open: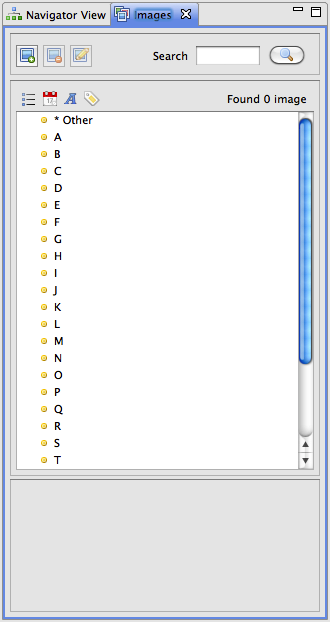
- To add the background image you want to use to the image management select the add button on top of the view.
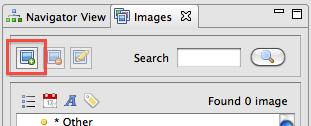
- Select "backgroundImage1.jpg" from the provided tutorial images and click
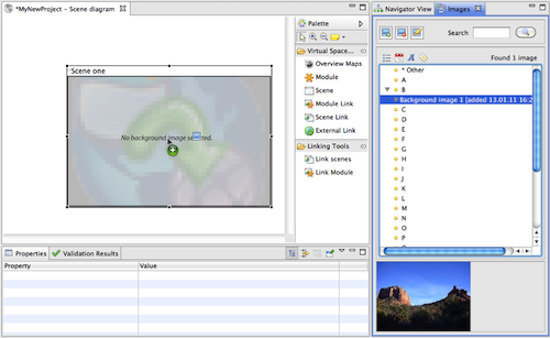
Next >. Enter a title (e.g. "Background image 1", all other data is optional) and clickFinish. - In the image management view under "B" (if you gave the image a different title it appears under the first character of the title) there is now an entry for the newly added image. Drag and drop the image over the scene (click on the image in the image management view and release the mouse over the scene in the scene diagram).
- Save your project.
- Congratulation, you've just created your first scene. Now, create a second scene the same way, with background image "backgroundImage2.jpg".

