Step 6 - Creating slides
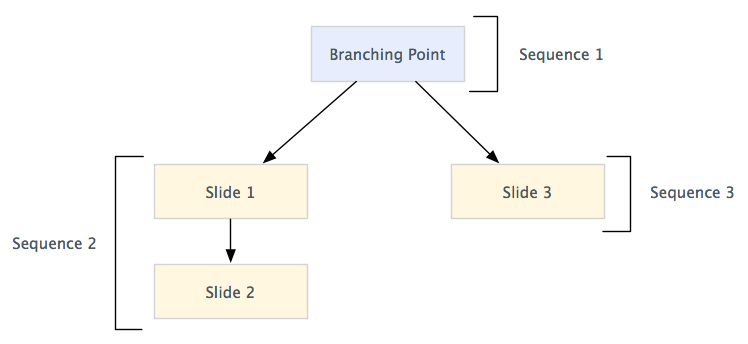
First of all, you should think about the structure of your module. The contents of a module is stored in slides that are organized in sequences. A sequences is similar to a PowerPoint presentation; it is a linear organization of slides. A slide can contain texts, images and videos. A branching point is a special type of slide that in addition contains links to other sequences. It enables the designer of a virtual space to provide the visitor of a virtual space (the one who visits the generated virtual tour) a choice of what to read next.

- In this tutorial you will create a branching point that links two sequences. One sequences has two slides and the other sequence has one slide.
- Let's start with creating slides. Click on the button with the plus sign in the left most column.
A new slide will appear in the slides column (represented by a blue box).
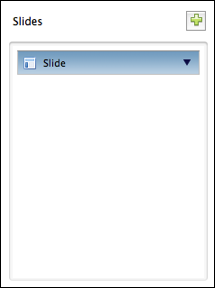
- Click on the little triangle on the right end of the blue box to open the slide.
The opened slide shows you what you can add to this slide: images, texts, videos and alien slides. If you want to delete a slide, click on the button with the red cross on top of the opened slide.
- Click in the slide header (the blue box) of the slide you've just created to show its properties in the "properties view."
- In the
Valuecolumn, click into the row labeled "Title." Click on theEditbutton and enter a title for the slide, e.g. "Sedona Climate." ClickOK. - Let's add an image to the slide. First, you should add the image to the image management as described in step 2, point 4. You can use the image "SedonaSlides1.jpg" of the provided images.
- Once you've done that, click on the add image button in the opened slide.
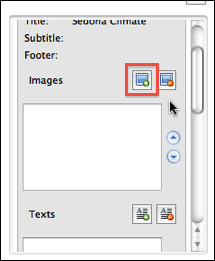
- A dialog opens that asks you for the type of image you want to create. Choose
LocalImageand clickOK.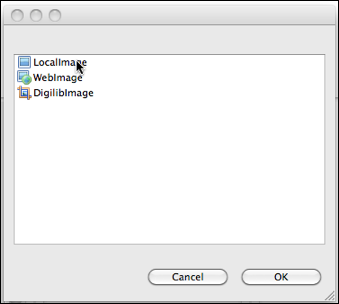
- In the images list of the slide a new local image should now have appeared. In the image management select the image you've just added (
SedonaSlides1.jpg) and drag and drop it over the local image in the image list of the slide.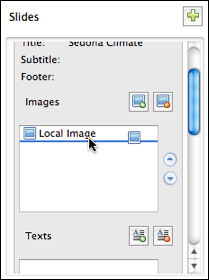
- Select the image in the image list of the slide to view the properties of this image in the "properties view." You can edit title, description, height or width of the image. By editing these properties the properties of the original image won't be changed. These properties are specific for the image in the slide. Be careful not to change
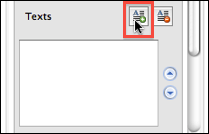
Image Db IdorImage Path, this could invalidate or override the image you selected. - Next, let's add a text to the slide. Click on the add text button in the opened slide.
- Select the text in the text list to view its properties in the "properties view."
- In the
Valuecolumn, select the row labeledTextand click on theEditbutton. Add the text in fileSedonaSlides1.txtfrom the provided files and clickOK. After deselecting the text in the list by selecting something else and selecting the text again you should see the text you've just added in the properties view. - Save your project.
- Close the slide by clicking on the little triangle at the end of the blue slide header box.

- Create two more slides using files
SedonaSlides2.png,SedonaSlides2.txtfor the first slide (with title "Demographics") andSedonaSlides3.png,SedonaSlides3.txtfor the second slide (with the title "Arts and Special Events"). - As you can see from the provided files you can use HTML markup to format texts.

